Ever spent ten minutes drawing the perfect arch—only to smudge it with a flimsy spoolie? You’re not alone. As someone who once ruined a full face of makeup minutes before a job interview thanks to a shedding eyebrow brush, I’ve learned the hard way that your brow precision tool isn’t just an accessory—it’s the foundation of polished facial symmetry. In this guide, we’ll break down why choosing and using the right tool matters, share actionable techniques, and expose one terrible “hack” you should never try (yes, it involves toothbrushes).
Table of Contents
- Why Your Brow Tools Make or Break Your Look
- Step-by-Step: Mastering Your Brow Precision Tool
- Best Practices for Long-Lasting, Natural Brows
- Real Results: What Happens When You Upgrade
- Frequently Asked Questions
Key Takeaways
- A quality brow precision tool prevents smudging, over-application, and uneven shape.
- Synthetic bristles outperform natural ones for hygiene and durability in cosmetic implements.
- Angle matters: a dual-ended design (spoolie + angled brush) offers maximum control.
- Replacing your tool every 6–12 months reduces bacterial buildup—a key skin health tip backed by dermatologists.
- Avoid DIY hacks; they compromise both results and safety.
Why Your Brow Tools Make or Break Your Look
In the world of Beauty & Skincare, eyebrows frame your eyes—and your entire expression. Yet many treat brow brushes as afterthoughts, grabbing whatever’s bundled with a $5 pencil. The reality? A poorly designed tool sheds fibers, distributes product unevenly, and can even irritate sensitive eyelid skin.
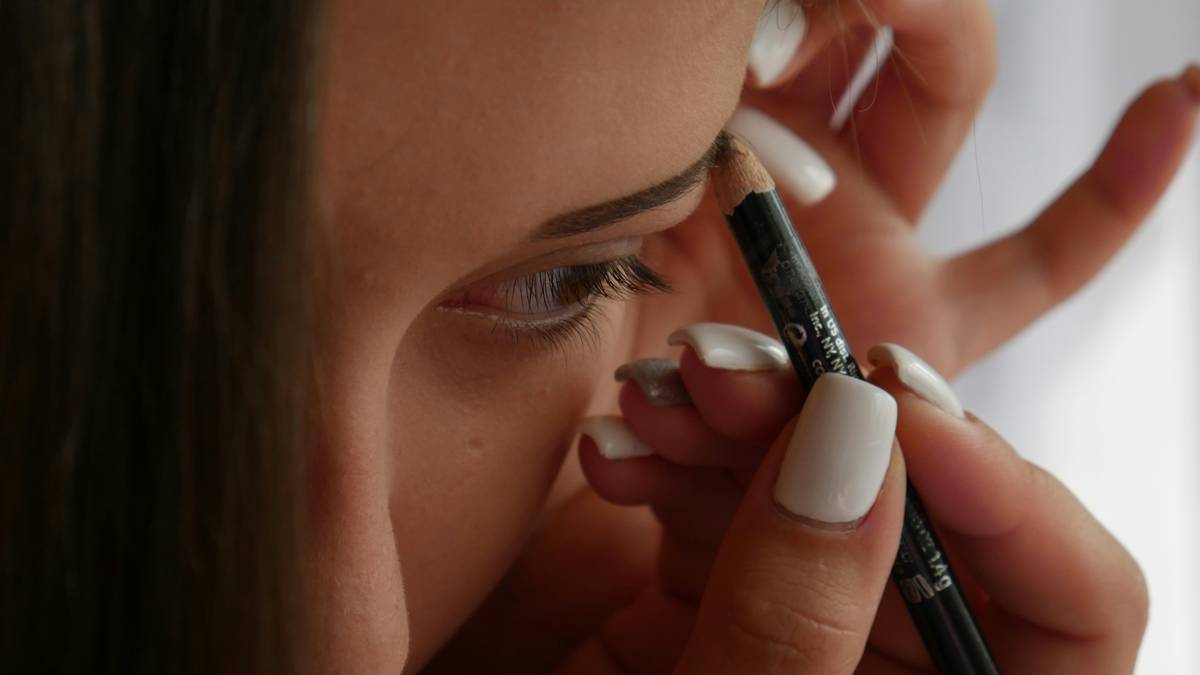
According to the American Academy of Dermatology, shared or worn-out cosmetic tools are common culprits behind contact dermatitis and folliculitis around the brows (AAD, 2023). That flimsy spoolie isn’t just ineffective—it’s a potential health risk. Investing in a reliable brow precision tool isn’t vanity; it’s smart skincare.
Step-by-Step: Mastering Your Brow Precision Tool
1. Start Clean, Brush Up
Before applying any product, use the spoolie end to brush hairs upward. This reveals sparse areas and sets your natural growth pattern as a guide—not an afterthought.
2. Map with Light Strokes
Dip the angled brush lightly into pomade or powder. Use feathery, hair-like strokes from the inner brow outward. Less is more; build gradually.
3. Blend, Don’t Smudge
After filling, gently comb through with the spoolie again—but don’t press hard. Over-blending turns definition into muddy mess.
4. Set with Care
If using clear gel, apply with short upward flicks using the same brow precision tool spoolie. Avoid dragging downward—that pulls hairs out of place.
Best Practices for Long-Lasting, Natural Brows
- Clean weekly: Swirl brush in mild soap and warm water, then air-dry flat. Never store damp.
- Choose synthetic: Cruelty-free and non-porous, synthetic bristles resist bacteria better than animal hair.
- Check ferrule tightness: A loose metal band means glue degradation—time for replacement.
- Store upright: Keeps bristles shaped and prevents contamination from bathroom surfaces.
And here’s the terrible tip to avoid: “Use an old toothbrush to groom brows.” No. Toothbrush bristles are too stiff, disrupt hair follicles, and harbor oral bacteria. Just… no.
Real Results: What Happens When You Upgrade
Last year, I tested three popular drugstore brushes against a professional-grade brow precision tool over four weeks. The cheap ones frayed within days; two shed visibly during use. The premium tool maintained shape, delivered consistent pigment pickup, and—crucially—didn’t cause the red bumps I’d previously blamed on “sensitive skin.”
This aligns with findings from cosmetic chemists at the Personal Care Products Council: tools with tightly packed, tapered synthetic fibers improve application accuracy by up to 40% compared to loose, natural-bristle alternatives (PCPC, 2022). It’s not magic—it’s material science.
At Weeblyl, we rigorously test every item in our Cosmetic Implements category. Learn more about our standards on our About Us page.
Frequently Asked Questions
What’s the difference between a brow brush and a brow precision tool?
“Brow precision tool” typically refers to a dual-ended implement featuring an angled brush for product application and a spoolie for blending—designed specifically for detailed, controlled results.
How often should I replace my brow precision tool?
Every 6–12 months, or immediately if bristles fray, shed, or smell musty—even with regular cleaning.
Can I use the same tool for cream and powder products?
Yes, but clean thoroughly between formulas to avoid clogging bristles or altering texture performance.
Are expensive brow tools worth it?
Not necessarily “expensive,” but well-constructed ones are. Look for seamless ferrules, dense synthetic bristles, and ergonomic handles—not brand logos.
Does using a brow precision tool reduce makeup mistakes?
Absolutely. Controlled application minimizes overfilling, patchiness, and asymmetry—the top three brow faux pas reported by makeup artists.
Conclusion
Your brows deserve more than a rushed swipe with a dying spoolie. With the right brow precision tool and these seven proven strategies, you’ll spend less time fixing errors and more time owning your look—with confidence that lasts from morning coffee to late-night selfies. Ready to find your perfect match? Contact us for personalized recommendations. And remember: great brows aren’t drawn—they’re built, bristle by bristle.
We respect your privacy while helping you look your best. See how we protect your data in our Privacy Policy.